First Useful Part
Written by: Kimberlee Model, posted: 2024-02-28. Tags: I Made a Thing, bicycle, 3D Print, transportation.I've had a 3d printer for a while, and printed a few downloaded parts, but I've reached a milestone and printed my first part that I designed myself. It's a quick-release mount for an action camera on my bike.
I've had the cam for a few months, and used it on a helmet mount. I found the helmet mount to be a bit cumbersome and insecure, also I felt like an idiot with a camera on my head. I thought it would be better and less conspicuous on my bike, so I'd been meaning to work up a bike mount. Anyways, a few close calls and one incident in which someone drove their car full beans through my group ride (nobody was hit, thank the gods), and I finally got around to working something up.
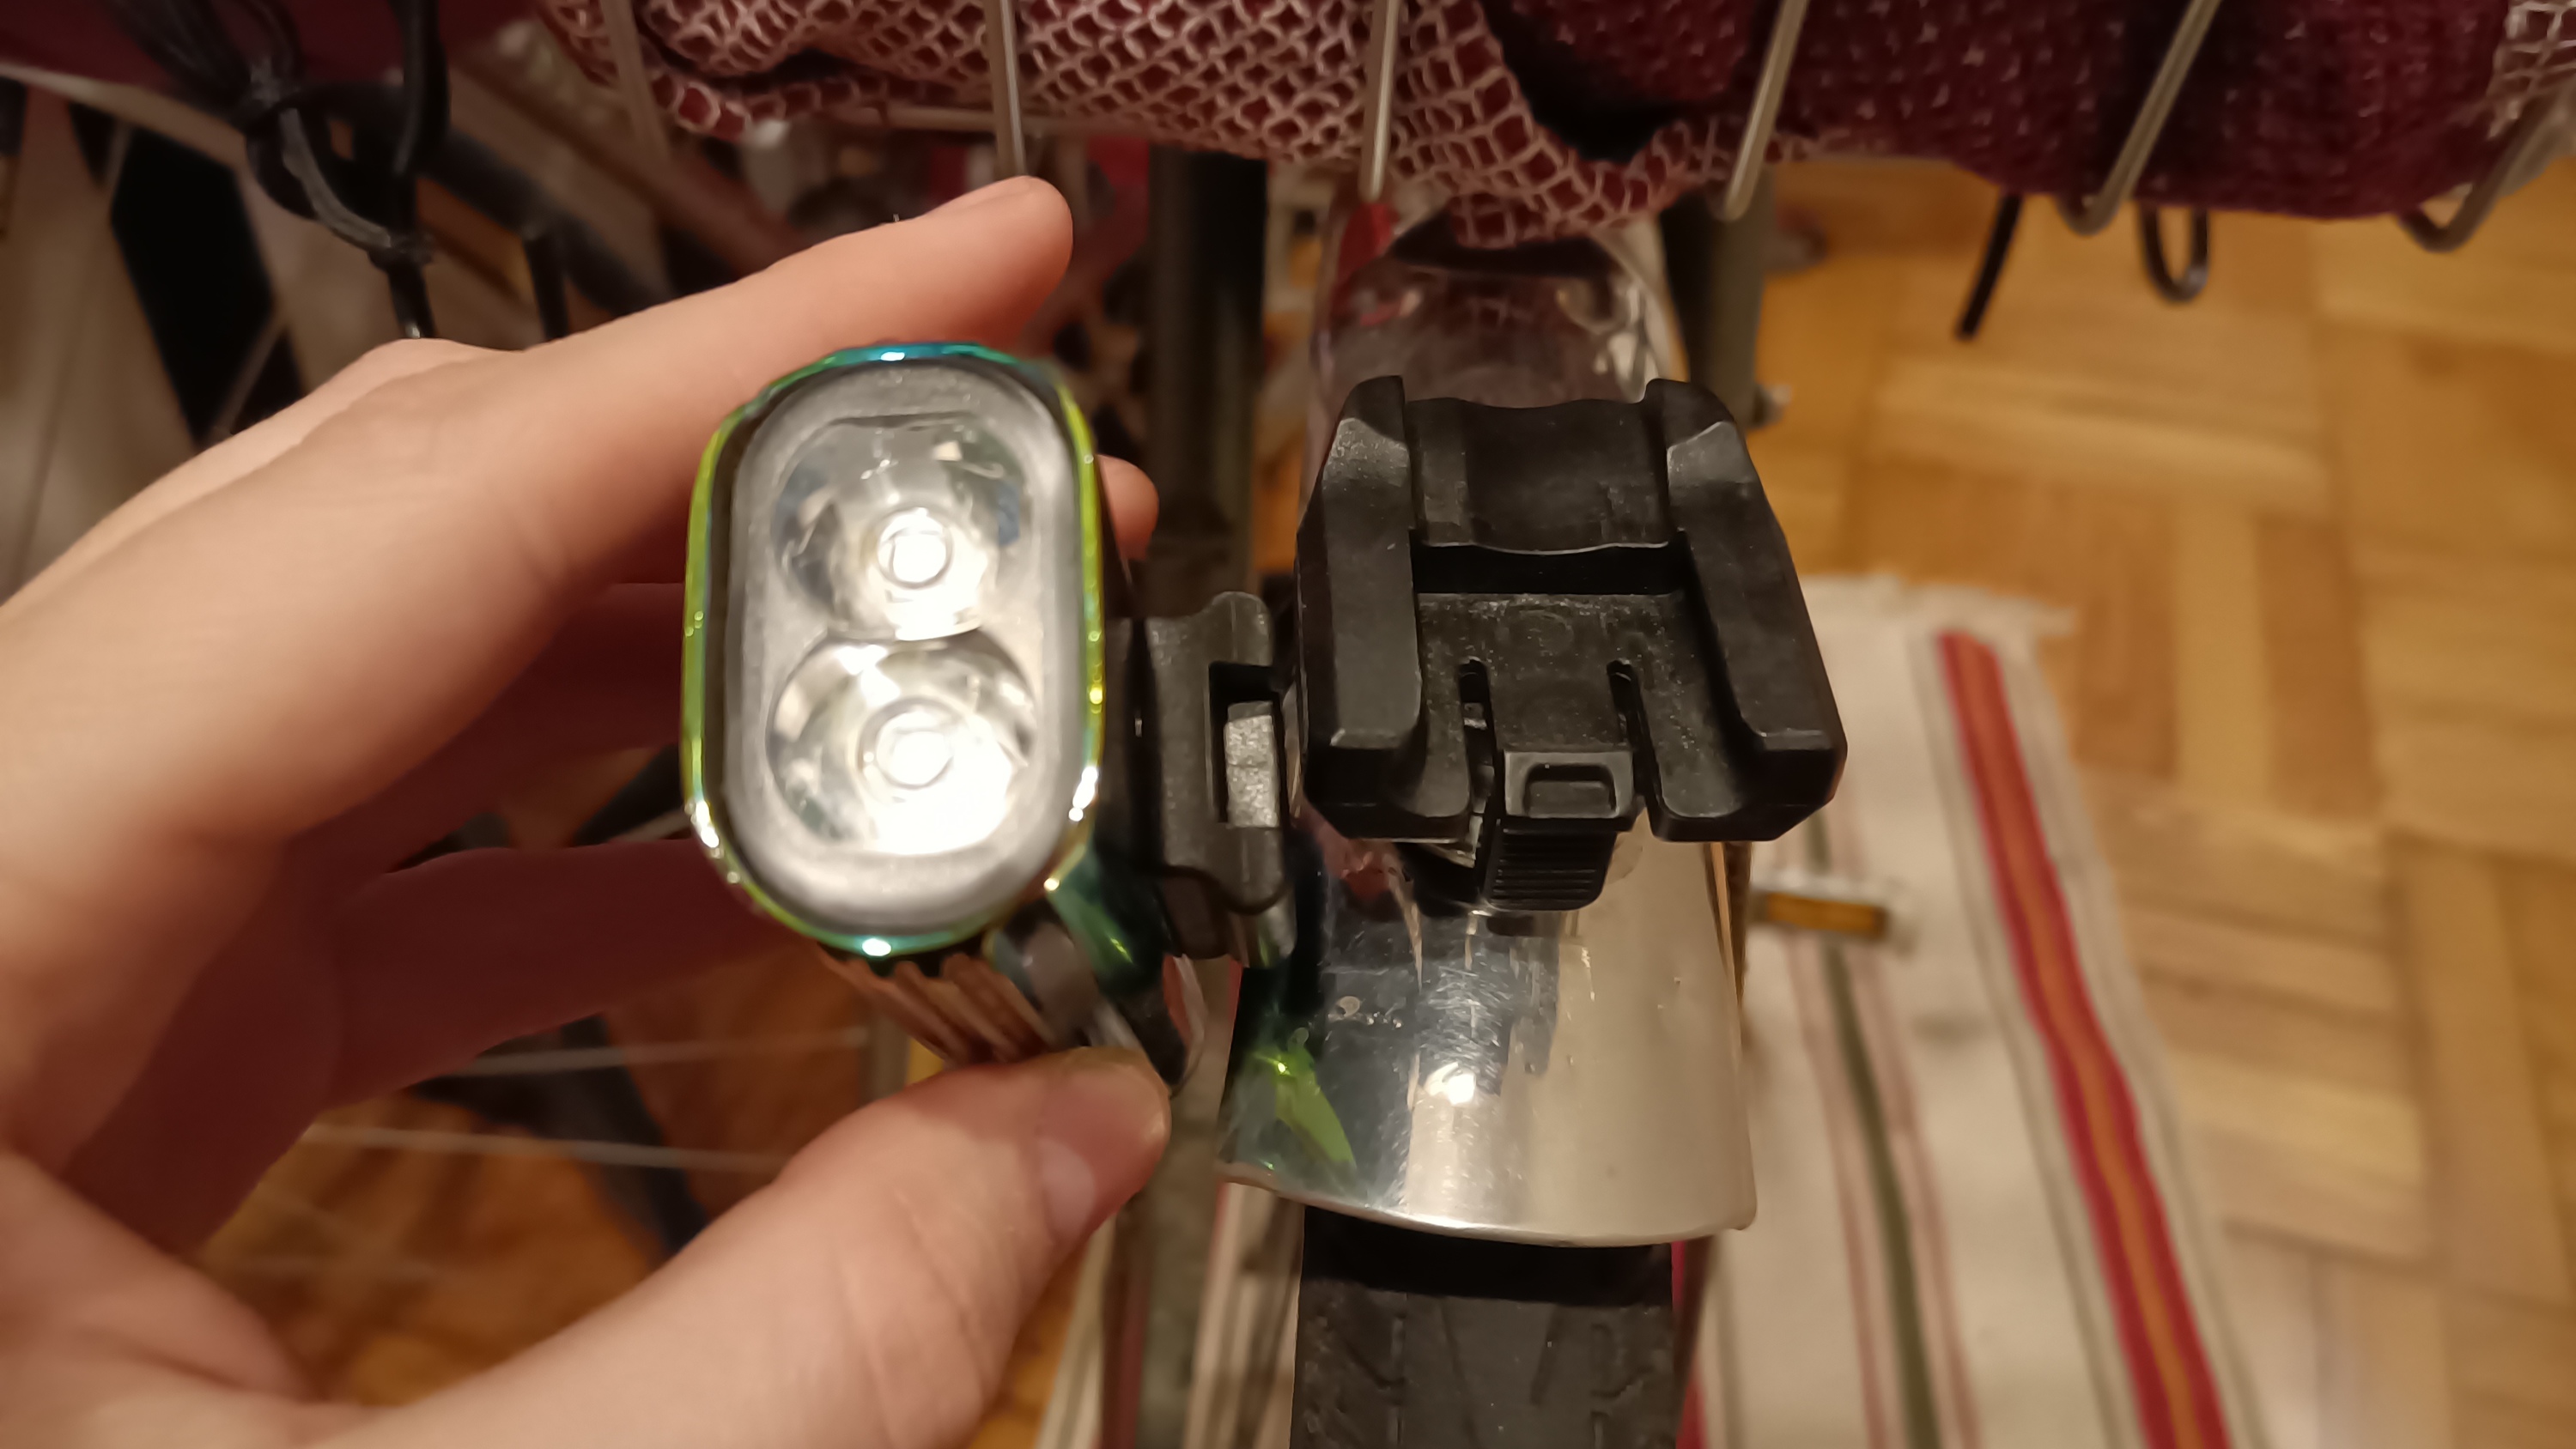
The basic principle is inspired by the quick release on my head lamp, although that is injection molded rather than 3d printed.
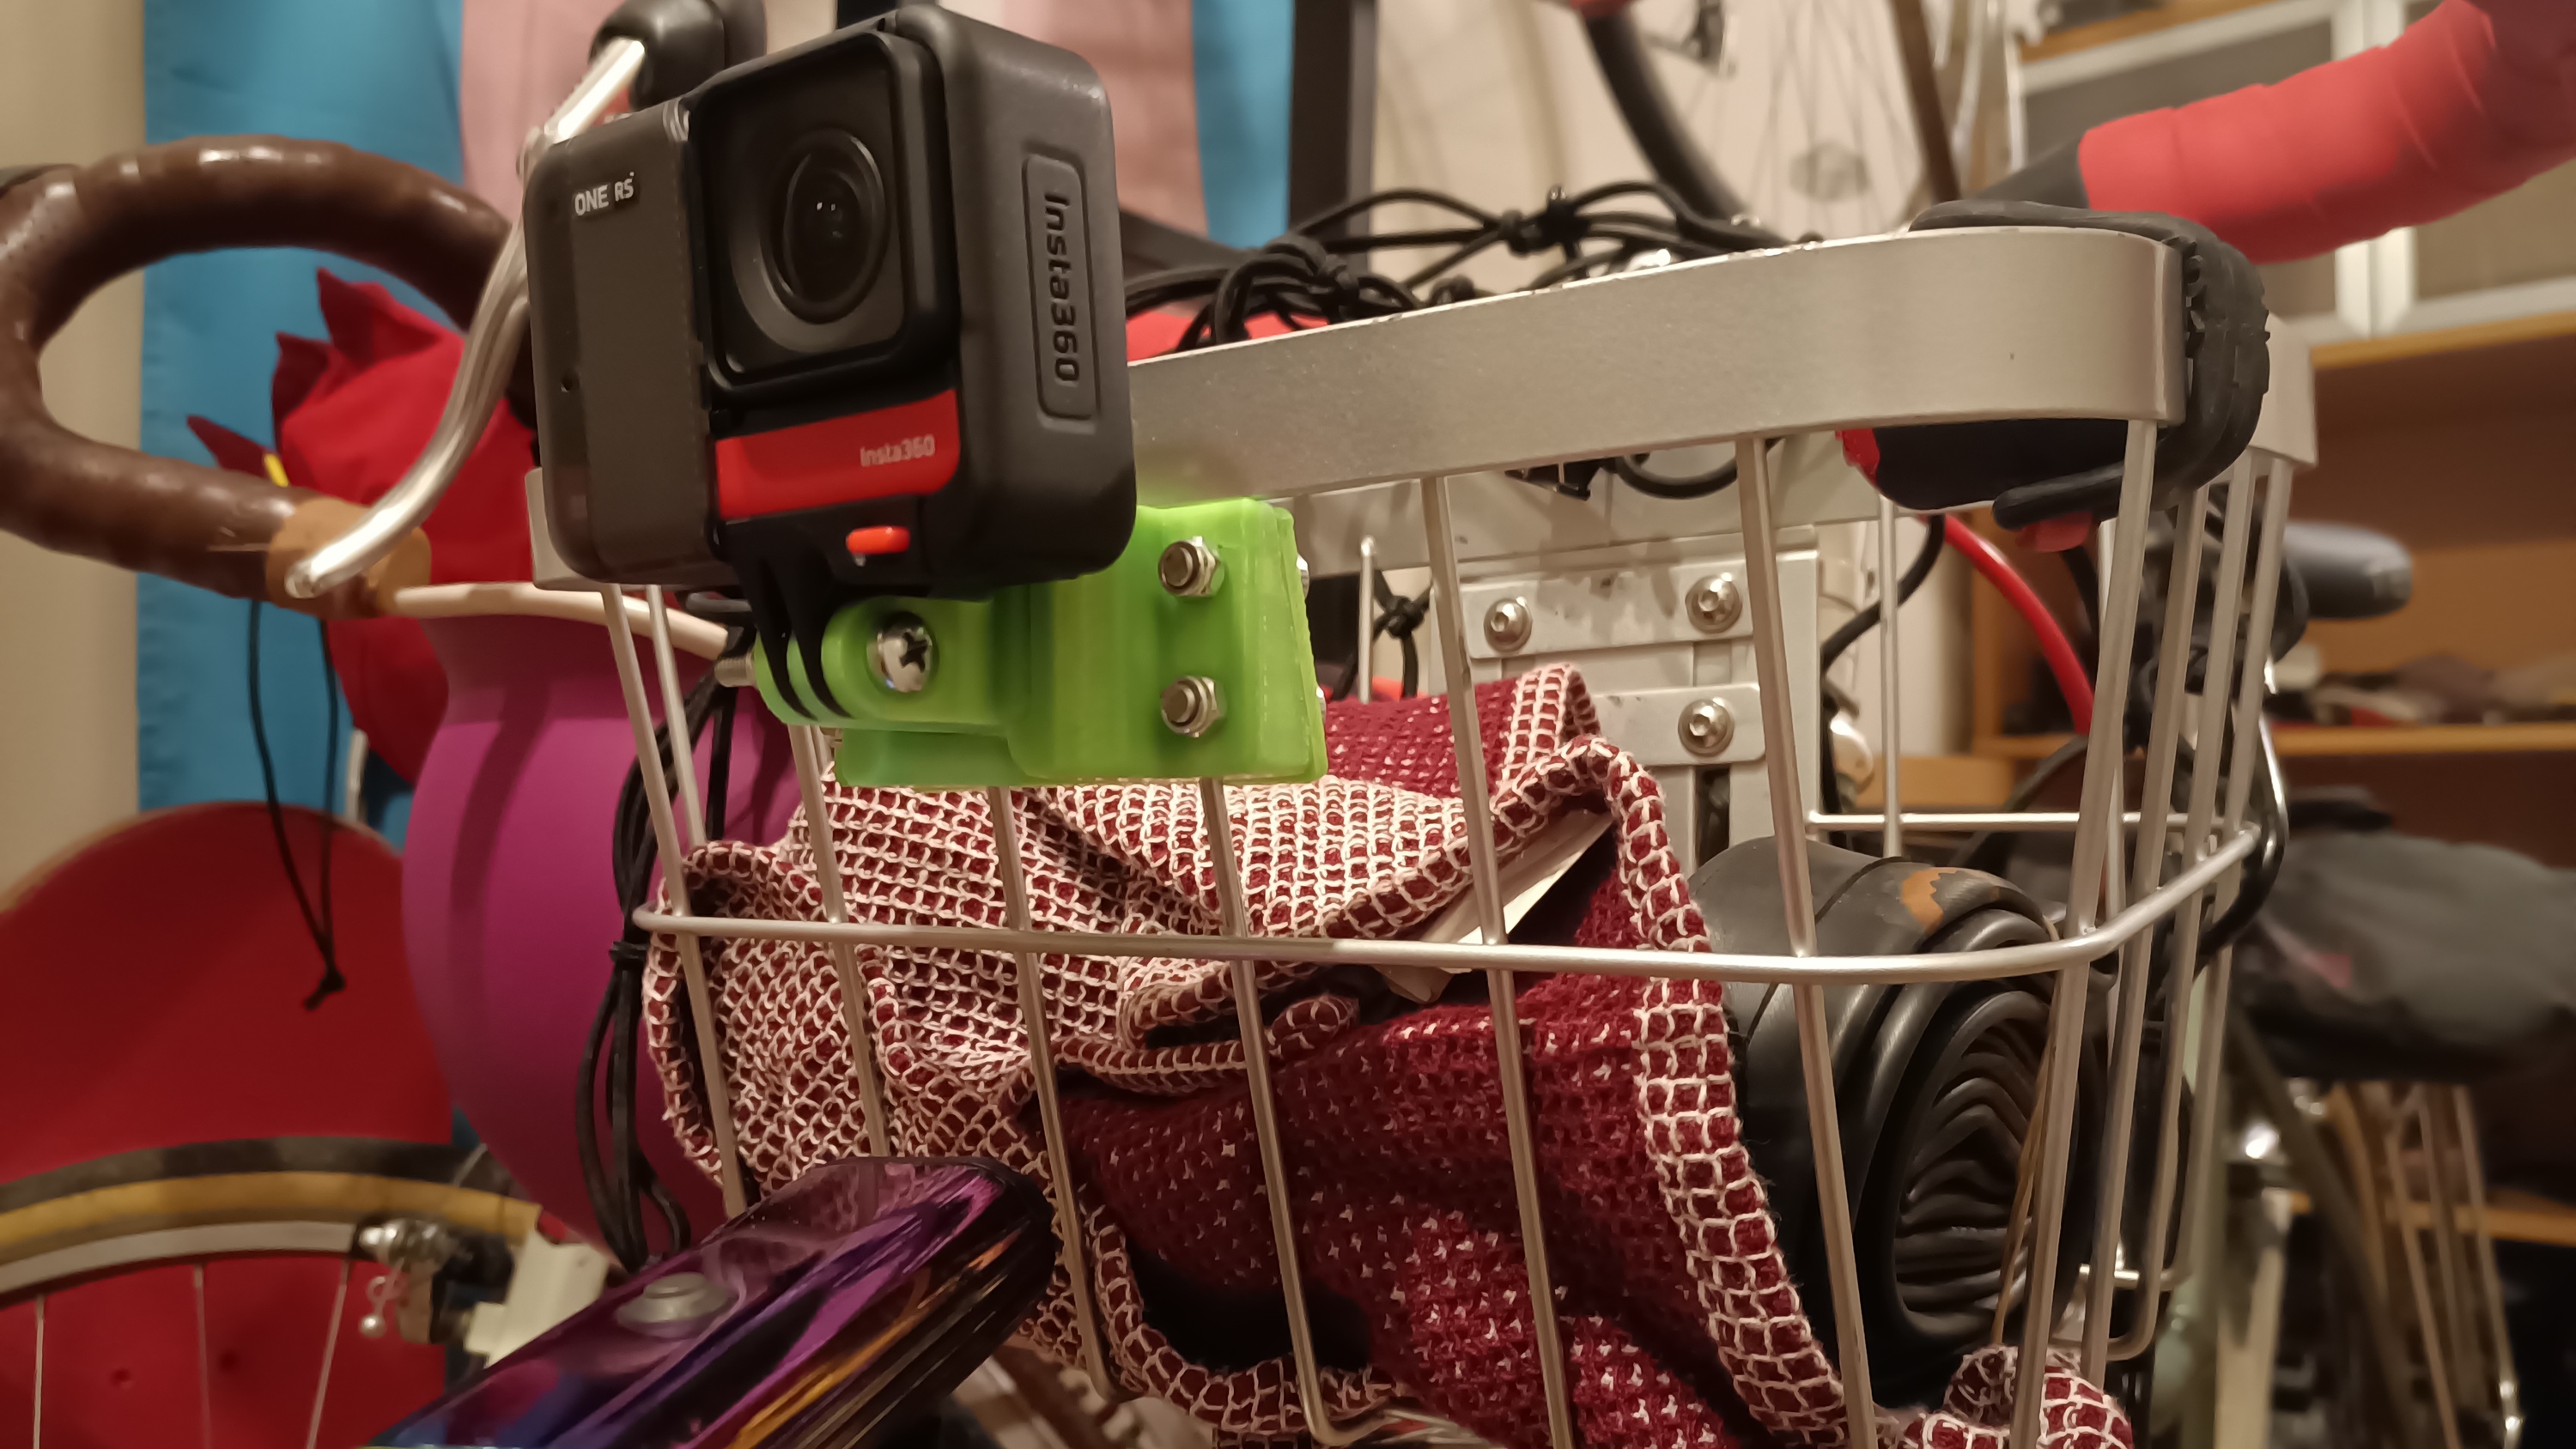
I made a diamond shaped slider with a three-prong action cam mount, a mount that holds around the corners of the diamond, and a back plate that screws between the wires of my basket.
I opted to put the clip on the sliding base, as that seemed more ergonomically optimal.
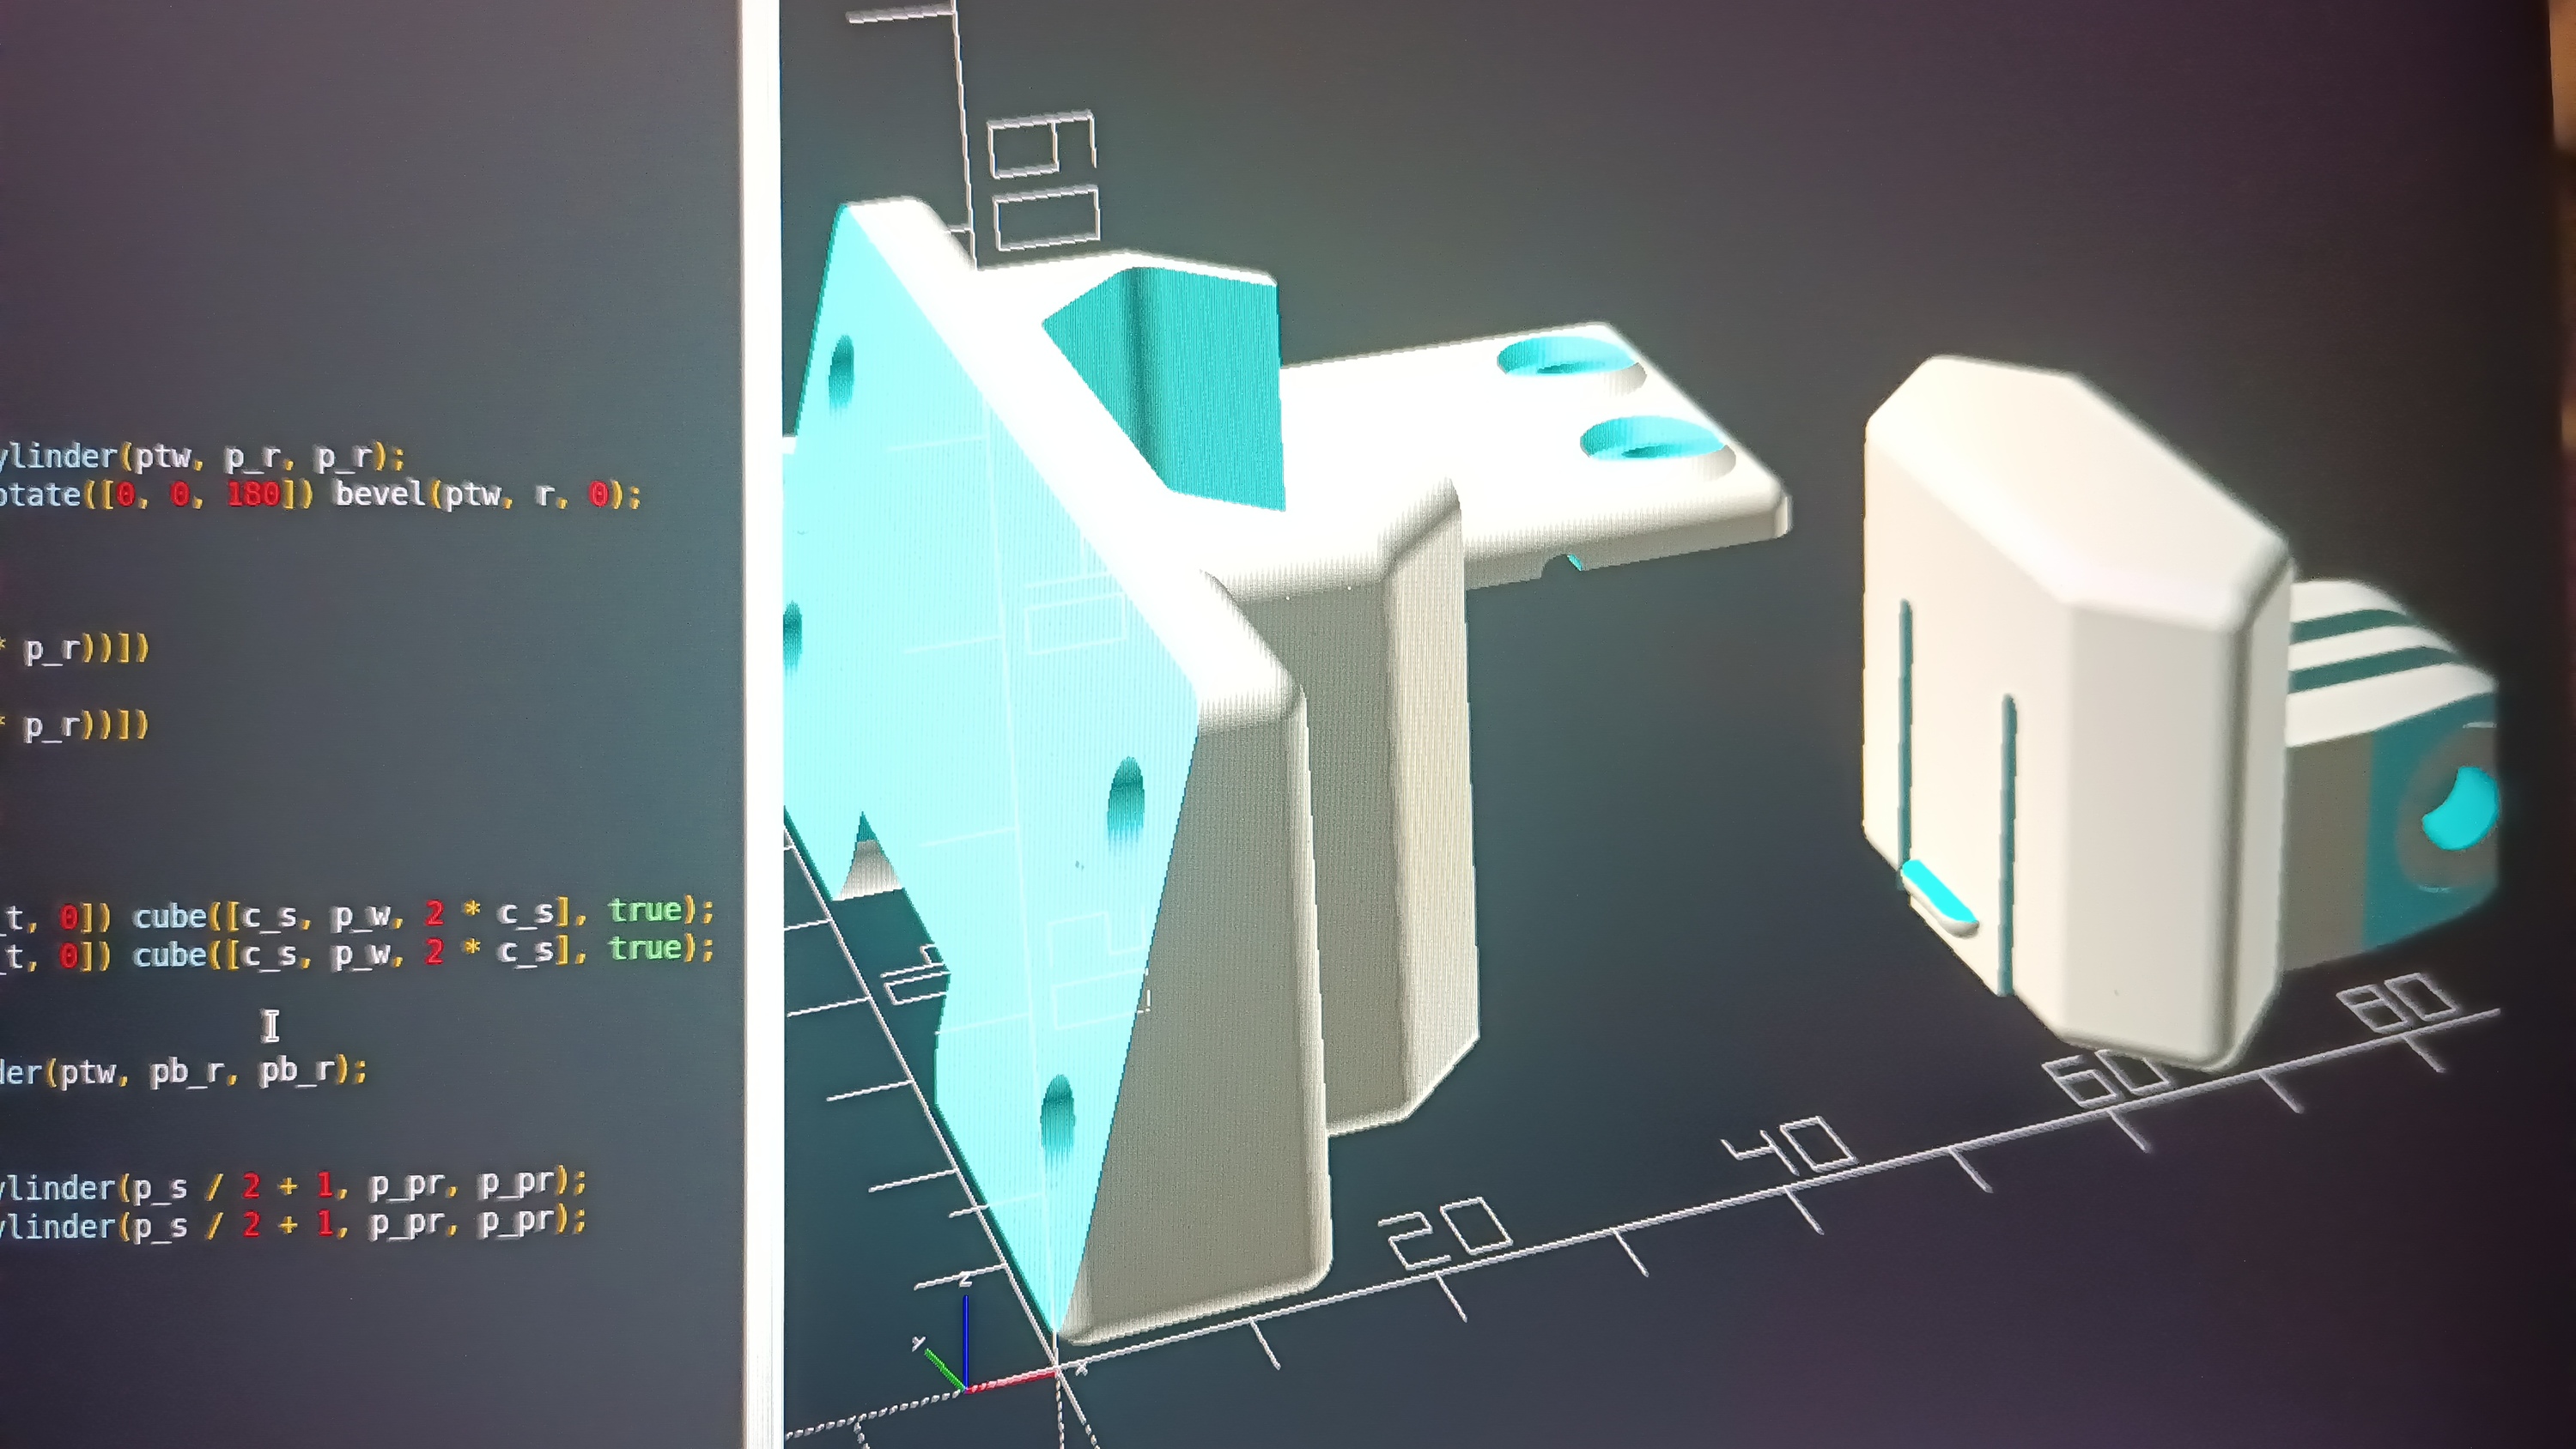
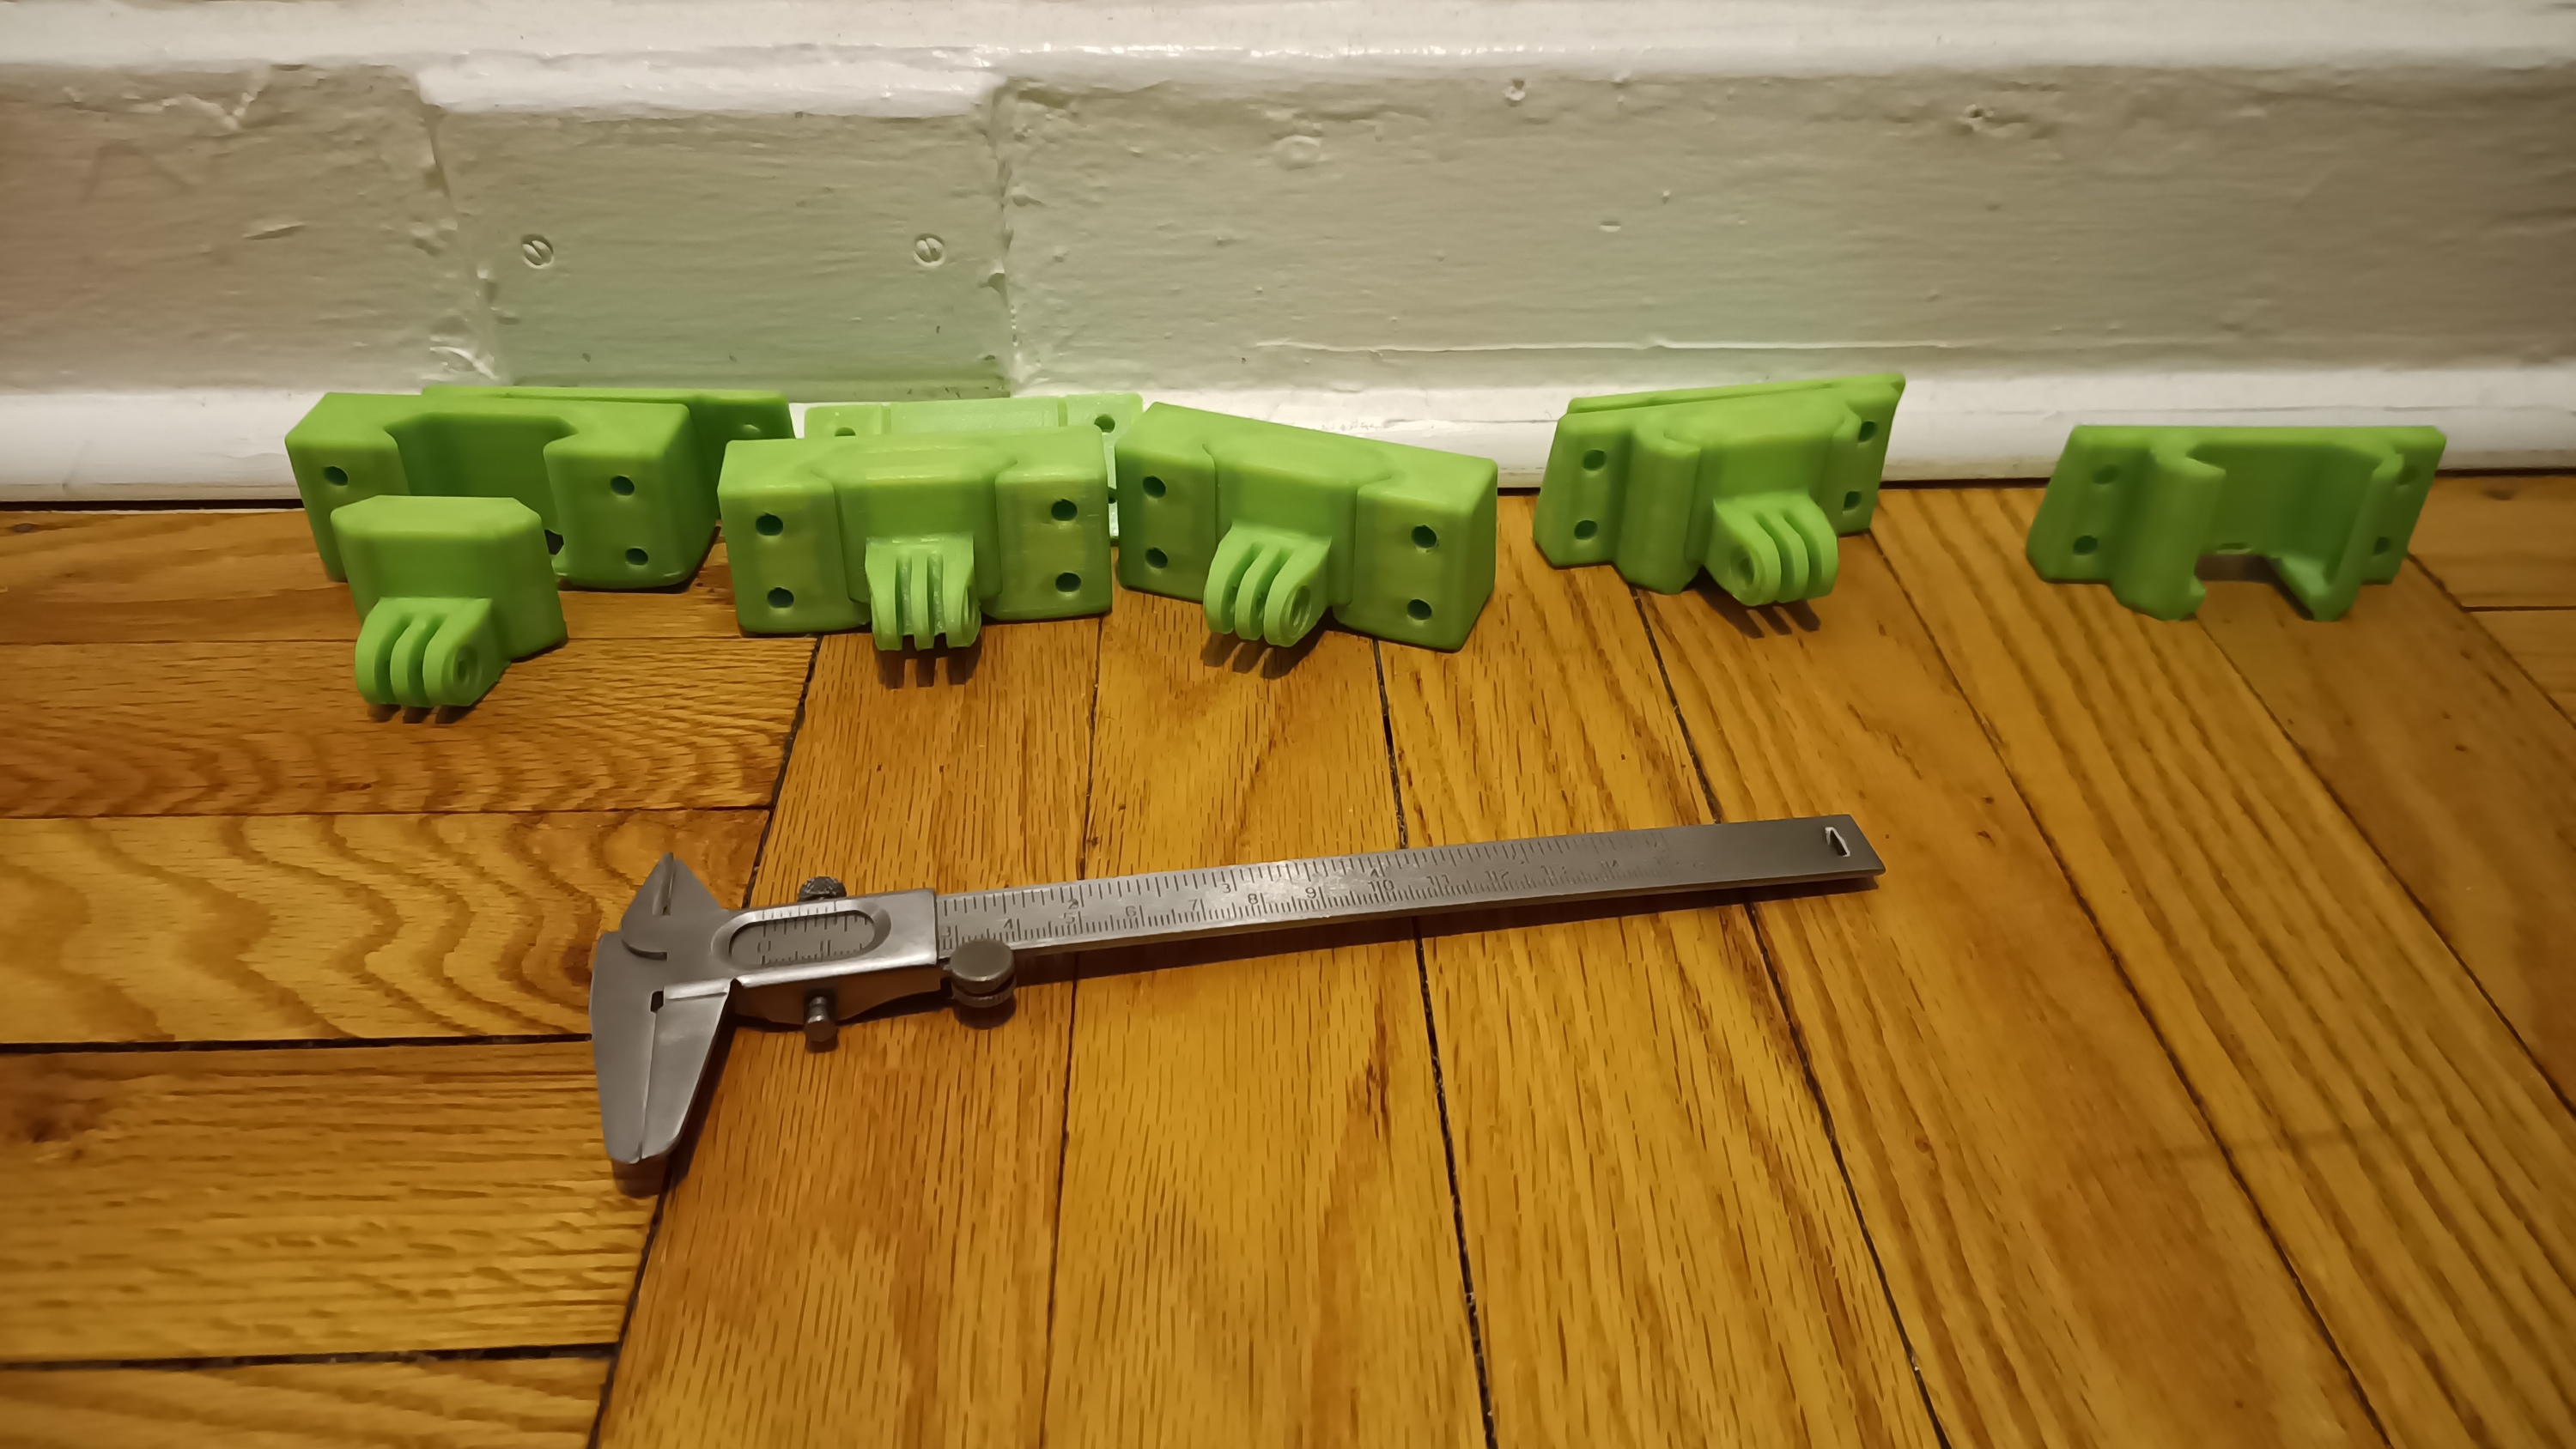
This is the 6th iteration of the part. The first iteration's slider didn't fit into the mount. I made a few more small dimensional changes before I went to the hardware store and got properly sized bolts, at which point I realized the larger rectangular mount caused the bolts to interfere with the camera itself, hence the design change. (although, I think i like the new look better).
I had a heck of a time getting the 3d printer to work good (It'd been in storage since I had surgery and moved back with my mom, so getting it out is a bit of a milestone in unpacking into my condo). At first I couldn't get the 3d ink to stick to the heat plate. I raised the bed tempurature and readjusted the leveling/z-height and it seemed to accept that, except it started warping and separating mid print. I found out I could set the bed to cool down after the first layer, so I wound up at 75, 60 C first, rest bed tempuratures and that seemed to work good.
Anyways, This has been a good project to get me back in with 3d printing. I still want to replace the back plate with lower profile clips and of course print it with red 3d ink, because my favorite color is red.